
How to prepare for a hiking trip with children: family thru-hiking and trekking
Mountain hiking with children is no longer limited to a couple of hours walking with a lightweight backpack. More and more families are choosing full routes with overnight stays in tents and mountain huts, as well as long-distance trails.
For a multi-day trek to leave children with a love of the mountains, it should not be planned according to the standards of a typical adult hiking trip. Terrain, elevation gain, weather, group pace, footwear, and even an extra 500 grams in a child’s backpack all matter.
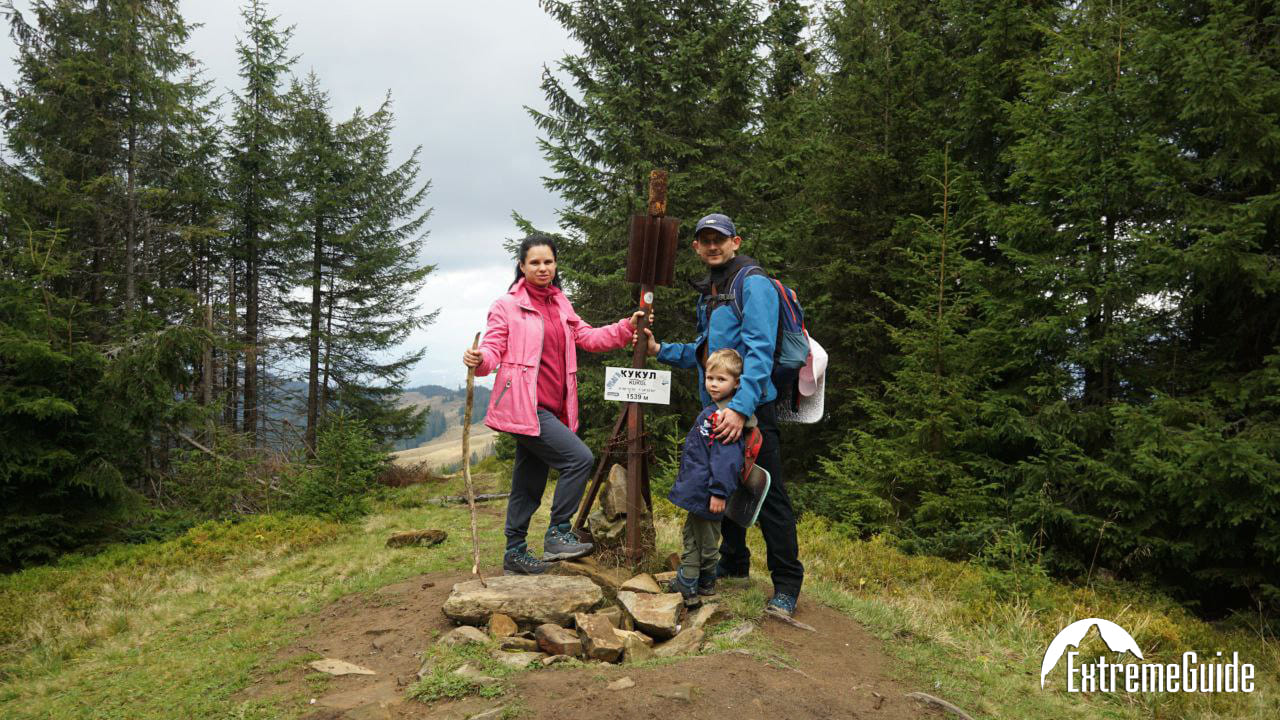
Thru-Hiking, Section Hiking, and Multi-Day Trekking: What’s the Difference?
Before planning a family hiking trip, it is worth understanding the key terms.
- Thru-hiking means completing an entire continuous trail from the starting point to the finish. These journeys can take several weeks or months. Examples include the Lycian Way in Turkey, the Appalachian Trail in the United States, and some of Patagonia’s long-distance routes.
- Section hiking means completing a specific section of a long-distance trail. This format allows you to choose a scenic segment lasting several days without planning to complete the entire trail.
- Multi-day trekking involves hiking over several days with overnight stays in tents, campsites, or mountain huts. For a first serious hiking trip with children, 3–5 days is often enough.
ExtremeGuide recommendation: Your first family hiking trip does not have to be a full thru-hike. Start with a short multi-day route or a comfortable section of a long-distance trail. This will allow you to assess your physical fitness, equipment, and how well your child adapts to life on the trail.
How to Choose a Route Based on Your Child’s Age
The biggest mistake parents make is assessing a route based on distance alone. In the mountains, 10 km along a flat dirt road and 10 km over scree with 800 metres of elevation gain make for two completely different days in terms of difficulty.
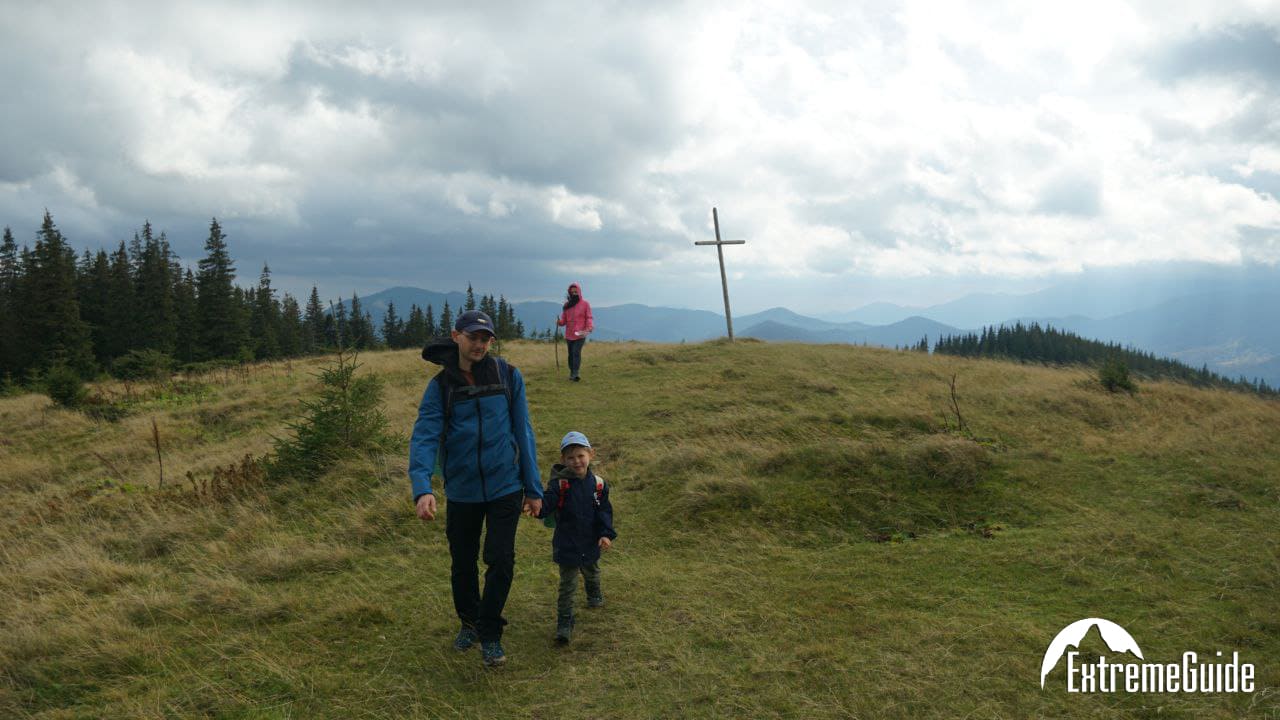
When choosing a route, consider not only the distance but also the steepness of the climbs, trail conditions, altitude, weather, backpack weight, and whether there is a way to end the hike early.
| Child’s age | Optimal format | Load guideline | What to consider |
| Under 3 | Walks and short outings while carrying your baby | Short segments with the option to quickly finish the route | Most of the physical load falls on adults; access to water, shade, and a road |
| 3–6 | Single-day routes and 1–2 overnight stays | Short stretches without long, steep ascents | Frequent stops, points of interest, no hazardous sections |
| 6–10 | 2–5-day hiking trips | Moderate mileage and gradual elevation gain | The option to shorten the day or change the plan |
| 10–14 | Multi-day trekking and section hiking | Workload depends on experience and training, not just age | Self-reliance, terrain, weather, backpack weight |
| 14+ years | Longer routes and individual thru-hike sections | Moving toward an adult-level workload should only occur once sufficient experience has been gained | Physical conditioning, altitude, technical difficulty |
Family Hiking Route Checklist
Check several key points before setting out.
- Emergency exit options. The route should offer ways to reach a road, settlement, or evacuation point. This is particularly important on your first multi-day trip.
- Water availability. Check water sources in advance rather than relying on old map markings. In hot weather, calculate water requirements with an additional reserve.
- Safe overnight camping spots. Pitch tents on level ground, away from riverbeds, slopes prone to rockfall, and exposed areas where strong winds may occur.
- Time buffer. Do not plan to arrive at camp just before dark. On a family hike, it is better to allow several extra hours for unexpected stops.
- Alternative route options. A good plan includes the possibility of a shorter day, an extra overnight stay, or skipping a difficult section.

How Much Should a Child’s Backpack Weigh?
Adults should carry the main group equipment on a family hike. Children should not be overloaded with a tent, extra water supplies, shared food, or heavy cooking equipment.
A commonly used conservative guideline is a load of around 10% of the child’s body weight. Experienced teenagers may gradually carry more, but this percentage is no substitute for assessing how the child feels, how well the backpack fits, and how difficult the route is.
A practical approach might look like this:
- Younger children only need a small, lightweight backpack containing a windbreaker, a favourite toy, and a small snack.
- For primary-school-aged children, you can gradually add lightweight personal items while monitoring the fit and overall weight.
- Teenagers can carry some of their personal gear and a few small group items if they are well prepared and the route matches their experience.
The backpack should be appropriately sized for the child and adjustable to fit their back. Check its weight not only before setting off but also after adding water and food.
If a child starts hunching over, changes their gait, constantly falls behind, complains of shoulder or back pain, or experiences numbness in their hands, unload the backpack immediately.
Preparing Your Child for Mountain Trekking
Even an active child needs time to adapt to long walks and elevation gain. Preparation is best approached in stages.

1. Check Footwear and Equipment
Do not wear brand-new hiking boots for the first time just before the trip. Break them in beforehand to check the fit and prevent blisters.
The same applies to the backpack, rain jacket, sleeping bag, and trekking poles. Your child should know how to use their equipment before the hike.
2. Go on Practice Hikes
Start with a day hike in the woods or hills. Gradually increase the distance, elevation gain, and backpack weight.
A good training hike should leave some energy in reserve. If your child finishes the day completely exhausted, reduce the planned exertion for their first multi-day hike.
3. Test an Overnight Stay
Try spending a night in a tent in your garden, at a campsite, or at a simple designated camping spot. This will help your child become familiar with their sleeping bag, tent, and nighttime sounds.
It will also help you understand how comfortably they sleep away from home and how they react to cold, damp conditions, or an early start.
4. Involve Your Child in the Preparation
Older children can be entrusted with a map, a GPS device, or checking the route. Younger children can choose a rest stop, a snack, or a small goal for the next stretch.
Taking part in the preparations increases a child’s interest in the hike and helps them see the route as their own adventure rather than an obligation.
Equipment and Camp Life: What to Pay Attention To
The Three-Layer Clothing System
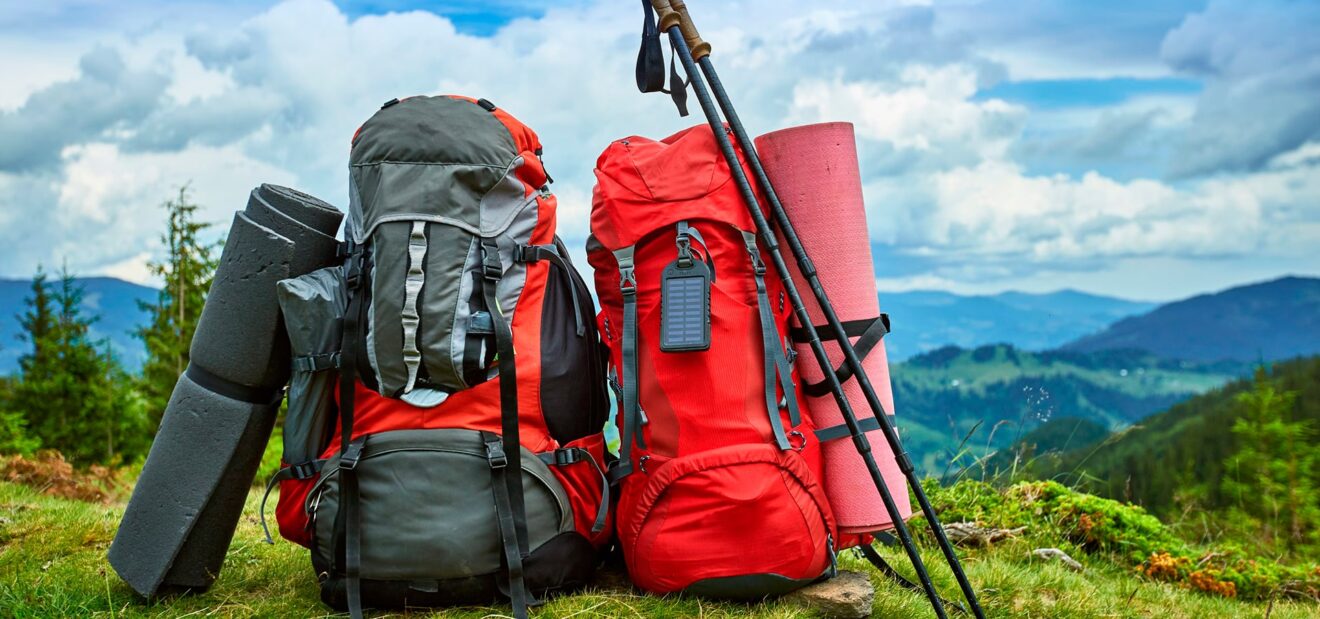
Mountain weather can change in a matter of minutes. That is why it is best to dress your child using the three-layer system.
- Base layer: Moisture-wicking thermal underwear or a sports T-shirt. Cotton is less suitable for active movement in cool weather because it stays wet for a long time.
- Insulating layer: A fleece jacket or lightweight down jacket.
- Outer layer: A waterproof, breathable membrane jacket or rain jacket, and windproof trousers if needed.
Extra clothing should be easily accessible in the backpack rather than buried at the bottom of the shared luggage. On an exposed mountain pass, a jacket may be needed just minutes after leaving the forest.
Do not forget a hat, spare socks, gloves, and sun protection. At altitude, ultraviolet radiation and wind can be intense even in cool weather.
Food and Water on the Trail
During long hiking days, children may become hungry and tired more quickly. Snacks should therefore be easy to reach rather than buried at the bottom of a shared backpack.
Keep snacks close at hand: Every child should have a small supply of familiar food. This could include dried fruit, an energy bar, banana chips, gummy sweets, or another convenient snack. Only bring nuts after taking possible allergies into account.
Offer small portions of food during short breaks. Do not wait until your child has already run out of energy and refuses to continue.
Offer water regularly rather than waiting until your child feels very thirsty. Pay particular attention to hydration in hot weather, on exposed slopes, and during long climbs.
When planning the route, check water sources in advance. If the information on the map is outdated or a source is seasonal, allow for an additional water reserve.
Personal Safety
Attach a safety whistle to your child’s jacket or backpack. Explain this simple rule in advance:
If you get lost, stay where you are and blow your whistle three times in a row.
Your child should also know:
- What their backpack and clothing look like.
- Where their whistle is kept.
- Their parents’ names.
- That they must never leave the trail on their own.
- What to do if they feel cold, frightened, or unwell.
Before the hike, agree on simple signals for stopping, regrouping, and emergencies. On difficult sections, children should stay close to adults rather than walking ahead on their own or far behind the group.
Trail Psychology: How to Deal with Boredom and Fatigue
Children need more than panoramic views; they also need things to engage with along the way. Turning the hike into a small expedition can help.


Turn Walking into a Game
Look for animal tracks, count trail markers, identify trees, and organise small challenges.
Simple tasks can help on a long hiking day:
- Find the next trail sign.
- Work out where the wind is coming from.
- Spot an unusual rock or plant.
- Be the first to spot a stream, mountain hut, or pass.
Set Clear Goals
Saying, “We’ve still got a long way to go,” can be demotivating. It is better to divide the hike into shorter sections:
“We’ll walk to the stream, take a break, and have a snack.”
This makes the route easier for a child to manage and helps them see their progress.
Don’t Compare Children
A faster pace set by another child or an adult should not become the benchmark for the whole group. Everyone has their own pace, especially on climbs and difficult terrain.
Allow Extra Time
Do not plan to arrive at camp just before dark. After a day’s hike, children need time to play, explore the campsite, and recover.
If a child constantly falls behind, becomes irritable, complains of pain, feels cold, or loses interest in their surroundings, it is a sign that the pace and daily plan need to be reconsidered. Sometimes the best way to continue the trip is to shorten the route.
When Does a Family Need a Mountain Guide?
A professional guide is particularly useful when hiking in an unfamiliar region, on difficult terrain, or at altitudes above 2,000 metres. A guide helps assess not only the route length but also the elevation gain, trail conditions, weather, overnight stops, and options for leaving the route early.

Hiking with an ExtremeGuide professional guide helps you:
- Reduce the organisational workload for parents. A guide helps plan the route, timings, food, overnight stays, and alternative options in case the weather changes.
- Account for mountain terrain. Planning takes into account steep climbs, scree slopes, river crossings, altitude, and the difficulty of individual sections.
- Respond more quickly to changing conditions. If the weather deteriorates, the child becomes tired, or trail conditions change, the route can be adjusted.
- Make the hike more engaging. For children, the guide becomes their introduction to the mountain world: pointing out features of the terrain, explaining local wildlife and plants, and teaching them how to use a map and navigate.
A guide does not replace family preparation, but helps you choose a route that matches your experience, your children’s ages, and the actual conditions in the mountains.
A guide is particularly valuable if the itinerary includes:
- High-altitude mountain passes.
- Unstable weather.
- Difficult scree sections.
- River crossings.
- Overnight stays above the tree line.
- Long hiking sections with no quick access to a road.
- Unfamiliar terrain with complex logistics.
How to Start Your Next Big Adventure
Do not start with a complete thru-hike of the Lycian Way or a challenging multi-week route. For your first experience, choose a short section hike or a three-day trek with straightforward logistics, moderate terrain, and the option to change the plan.
Your first multi-day hike does not have to be the longest or most difficult. Its purpose is different: to show your child that the mountains can be exciting, accessible, and safe with proper preparation.
After that, you can gradually move on to longer trails, higher altitudes, and real family adventures.