Mountain Trip Planning “3×3 Filter”
❓️🏔 How do you assess risks in the mountains, and when does travel become extremely extreme and life-threatening?
In my work as a mountain guide, I rely on the classic 3×3 Risk Filter method developed by Werner Munter. Originally, this framework was designed for risk assessment in winter mountain travel, but it can easily be adapted not only for winter trekking in the Carpathians, but also for alpine ascents in the Alps or long high-altitude expeditions in the Himalayas.
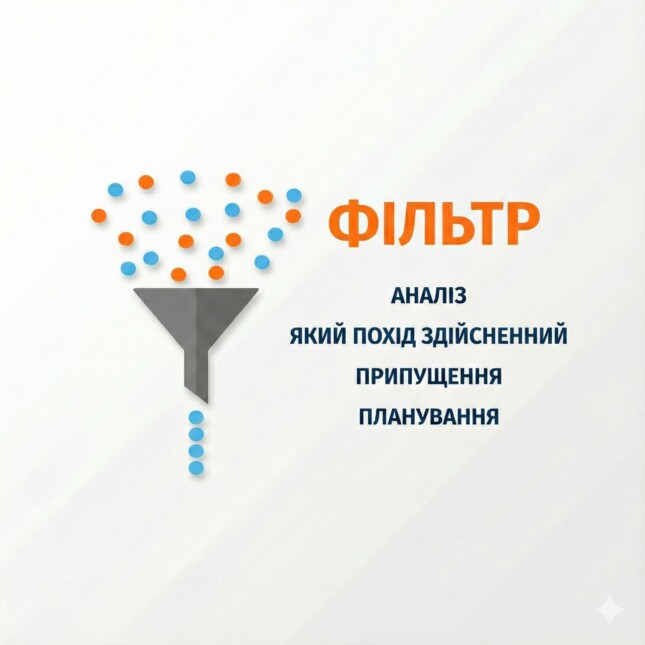
The essence of the method is step-by-step risk elimination — like passing hazards through a sieve or funnel — in order to reduce the probability of an accident from high to an acceptable level.
The system is based on the intersection of three risk factors and three assessment stages (time levels).
Three Risk Factors (Table Columns)
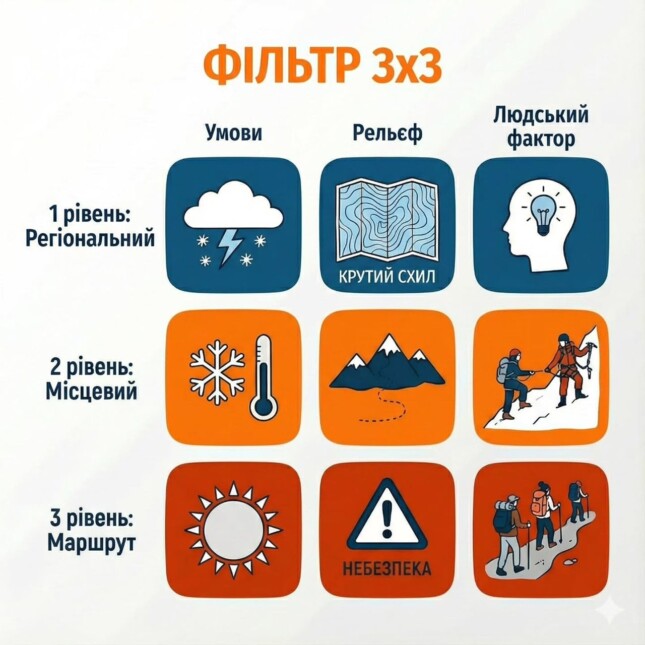
CONDITIONS (Nature): Weather, snowpack, avalanche conditions, temperature, wind, visibility.
Key Factors and Assessment Levels
TERRAIN: Slope steepness, aspect (north/south), terrain shape (couloir, ridge), presence of “terrain traps” (cliffs, gullies).
HUMAN FACTORS (Group): Physical condition, psychology, equipment, experience, leadership, discipline.
Planning Levels and On-Route Assessment. This approach applies to ski touring, mountaineering, and trekking.
Risk assessment happens across several planning and decision-making levels.
Stage 1: Information Gathering and Preparation
At the first level, we collect information: choosing the region, analyzing weather and climate based on the season, studying the route in detail, and identifying expected hazards and difficulties.
An equally important factor is the team composition — who is going with you and whether they are realistically prepared for the plan. At this stage, you also prepare backup and emergency plans.
Level 1: REGIONAL (Home Planning)
🌥️ Conditions: Seasonality, historical weather patterns.
⛰️ Terrain: Safe camps, evacuation and escape logistics.
👥 People: Acclimatization schedule (!), first-aid kit, insurance.
Stage 2: Situation Assessment and Final Preparation
At the second level, you have already arrived in the region and can gather on-site information: avalanche danger, current snow depth, landslide risks, short-term weather forecasts, and insights from local experts about the route and technical sections. If conditions are favorable, you proceed with Plan A.
If not — you already have Plans B, C, D, and so on. At this level, you reassess your group: check for illness or fatigue and inspect all equipment.
Level 2: LOCAL
🌥️ Conditions: Updated forecast. Wind > 40 km/h = STOP.
⛰️ Terrain: Visual route inspection, seracs, newly opened crevasses.
👥 People: Altitude sickness screening (Lake Louise score). Willingness to turn back.
Stage 3: Decision-Making on the Route
At the third level, decisions are made while moving.
You’re already on the route and making a decision based on an analysis of the weather, avalanche danger, terrain, and the well-being of the participants. Does everyone feel safe, or is our pace suitable for everyone? If the pace is slow, will we be able to reach the designated bivouac point in time for daylight? Is there a risk of thunderstorms in the afternoon, according to the forecast?
Preparation and action planning are critical. At every stage, we account for all risk factors that could lead to an extreme or emergency situation. In your head, there should already be a clear plan for how to act in each scenario.
Level 3: ZONAL (On the Slope / Here and Now)
🌥️ Conditions: Visibility (whiteout), snow conditions under crampons.
⛰️ Terrain: Snow bridges, slope angle.
👥 People: Turn-around time (!), group pace.
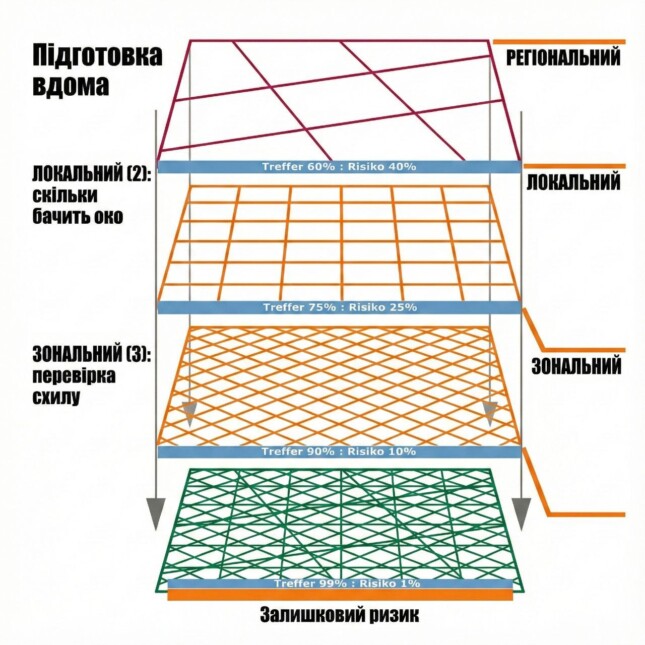
Final Outcome: The Funnel Effect
At the planning stage, ~10-20% of the risk remains. After on-site inspection, ~15-5% of the risk remains. On the slope itself, we minimize the risk (<1%) by making decisions on each step.
Save this algorithm.
The mountains will be there forever — your job is to come back home. 📌 Save this to refresh your memory before your next expedition.